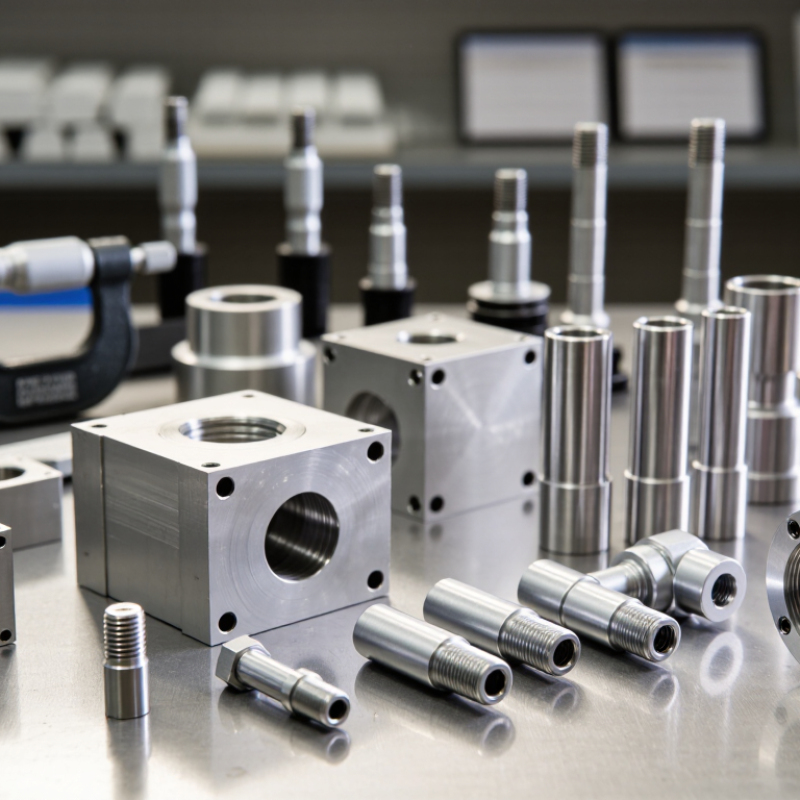
| 1. Define the critical dimensions | General tolerance versus critical-feature tolerance | Standard CNC work is commonly specified around ±0.005 in (±0.127 mm); tighter work may reach approximately ±0.001 in (±0.025 mm) when the design, machine, tooling, and inspection plan support it. | Identify only functional dimensions as critical and assign individual tolerances instead of applying unnecessarily tight tolerances everywhere. | Calibrated micrometers, calipers, bore gauges, height gauges, or a coordinate-measuring machine (CMM). |
| 2. Match the surface finish to the function | Arithmetic average roughness, Ra | A typical milled aluminum surface is often about Ra 1.6–3.2 µm (63–125 µin). Fine machining can produce approximately Ra 0.8 µm (32 µin) or lower under suitable conditions. | Use a lower Ra value for sealing, sliding, or visual surfaces only when performance requires it; avoid paying for polishing where standard milling is sufficient. | Contact or optical surface-roughness tester, measured on the specified direction and area. |
| 3. Check the aluminum alloy | Machinability, strength, corrosion resistance, and finish response | Common wrought alloys such as 6061 are widely used for general machining. Higher-strength alloys such as 7075 can offer greater strength but may require different cutting and finishing controls. | Specify the alloy and temper, such as 6061-T6 or 7075-T6, together with the required mechanical or corrosion-performance criteria. | Material certificate, alloy verification, and review of the applicable material standard. |
| 4. Separate dimensional accuracy from finish coating | As-machined size versus post-treatment size | Anodizing forms an oxide layer that can affect dimensions, especially on holes, bores, threads, and tight mating features. The dimensional effect depends on coating type, thickness, geometry, and process control. | State whether tolerances apply before or after anodizing, and allow suitable process compensation on critical features. | Measure critical features after the complete finishing process; use coating-thickness testing where appropriate. |
| 5. Compare finishing options correctly | Appearance, wear resistance, corrosion protection, and texture | Clear or colored anodizing generally improves corrosion resistance and appearance. Hard anodizing is typically thicker and more wear-resistant than decorative anodizing, but color uniformity and dimensional impact require closer control. | Specify coating type, color or natural finish, thickness range, masked areas, and acceptable cosmetic limits. | Visual inspection under defined lighting, coating-thickness measurement, and dimensional inspection after finishing. |
| 6. Review geometry-related accuracy risks | Flatness, perpendicularity, position, wall thickness, and distortion | Thin walls, deep pockets, long unsupported features, and uneven material removal can increase deflection or distortion even when individual dimensions appear acceptable. | Add datum references, geometric tolerances, minimum wall guidance, and inspection points for features that control assembly. | CMM, surface plate with height gauge, optical measurement, or dedicated inspection fixtures. |
| 7. Request a complete quality package | Traceability, inspection scope, and acceptance criteria | A useful package may include a dimensional inspection report, material certificate, coating certificate, surface-finish results, and records for critical characteristics. | Define the sample size, measurement equipment, reporting format, nonconformance process, and whether first-article inspection is required. | Review documented results against the drawing, purchase order, and agreed acceptance limits before approving production. |