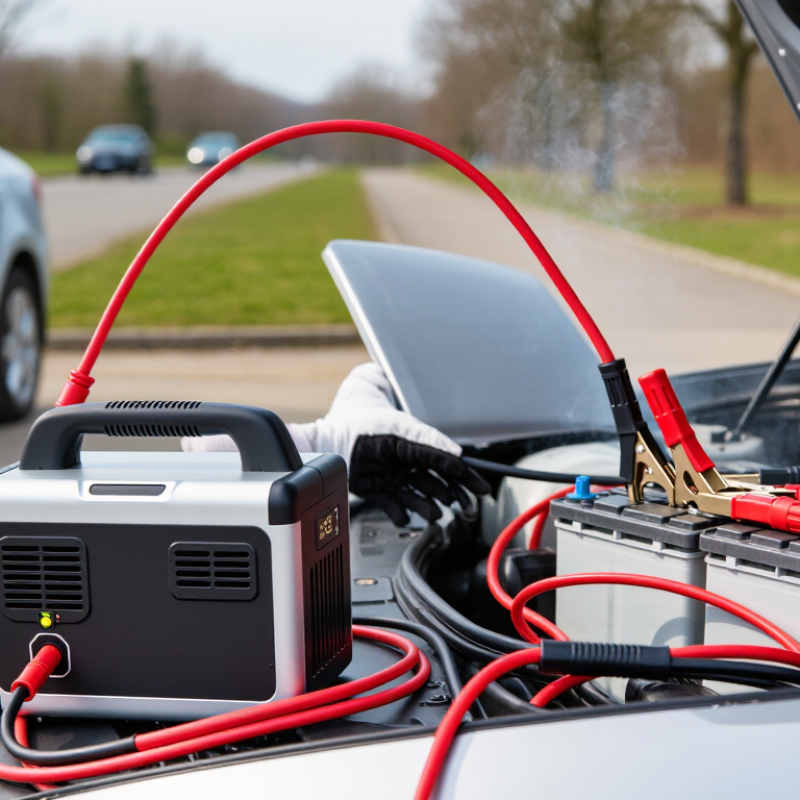
| 1 | Definition | An emergency auto booster, commonly called a portable jump starter or booster pack, is a rechargeable battery device that supplies temporary electrical power to a vehicle's starting system. | It is intended for a discharged 12-volt vehicle battery. It does not repair a defective battery, alternator, starter motor, or charging system. |
| 2 | How It Works | The booster stores electrical energy internally and delivers high current through heavy-duty cables to help the starter motor turn the engine over. | Use a booster rated for the vehicle's engine type and size. Always follow the operating instructions supplied with the specific device. |
| 3 | Vehicle Compatibility | Most conventional cars, SUVs, vans, and light trucks use a 12-volt starting system. Some larger engines require a higher-capacity booster. | Do not use a standard 12-volt booster on high-voltage electric-vehicle or hybrid propulsion systems. Consult the vehicle manual for approved procedures. |
| 4 | Before Connecting | Park safely, switch off the ignition and all accessories, engage the parking brake, place the transmission in Park or Neutral, and inspect the battery and cables. | Do not proceed if the battery is cracked, leaking, frozen, swollen, or visibly damaged. Keep sparks, flames, and cigarettes away from the battery. |
| 5 | Positive Connection | With the booster switched off, connect the red positive clamp to the vehicle battery's positive (+) terminal. | Confirm the polarity symbols before attaching the clamp. Never allow the red clamp to touch the black clamp or a metal ground at the same time. |
| 6 | Negative Connection | Connect the black negative clamp to an unpainted, solid metal engine or chassis ground away from the battery, unless the vehicle or booster instructions specify another connection point. | Keep both clamps secure and clear of moving belts, fans, pulleys, and hot engine components. Incorrect connections can cause sparks, damage, or injury. |
| 7 | Activate the Booster | Turn on the booster or activate its jump-start function only after both clamps are correctly attached. Some models use automatic polarity protection. | Polarity protection is not a substitute for checking the connections. If the device gives a warning or shows an error, switch it off and correct the setup. |
| 8 | Start the Engine | Attempt to start the engine for no more than about 3 to 5 seconds. If it does not start, wait several minutes before trying again. | Repeated long cranking can overheat the starter motor, cables, or booster. Stop if you smell burning, see smoke, or notice unusual heat. |
| 9 | After Starting | Once the engine is running steadily, switch off the booster if required by its instructions and remove the clamps in reverse order: black clamp first, then red clamp. | Do not let either clamp contact a moving engine component. Keep the engine running only as recommended by the vehicle manufacturer. |
| 10 | Recharge and Storage | Recharge the booster after use and check its charge periodically. Store it in a dry, ventilated place within the temperature range stated by the manufacturer. | Lithium-powered units should not be stored in extreme heat, direct sunlight, or a vehicle exposed to high temperatures. Replace damaged cables or a swollen unit. |
| 11 | Common Warning Signs | Clicking without cranking, dim lights, slow engine turnover, or a dashboard battery warning may indicate a weak battery or charging-system problem. | If the vehicle repeatedly needs a boost, have the battery, alternator, starter, and electrical connections professionally tested. |
| 12 | Essential Equipment | Useful items include a charged booster pack, insulated gloves, eye protection, a flashlight, and the vehicle and booster instruction manuals. | Protective equipment reduces exposure to battery acid, sparks, and accidental contact. Follow local disposal rules for damaged or worn-out batteries. |